Hello Devz,
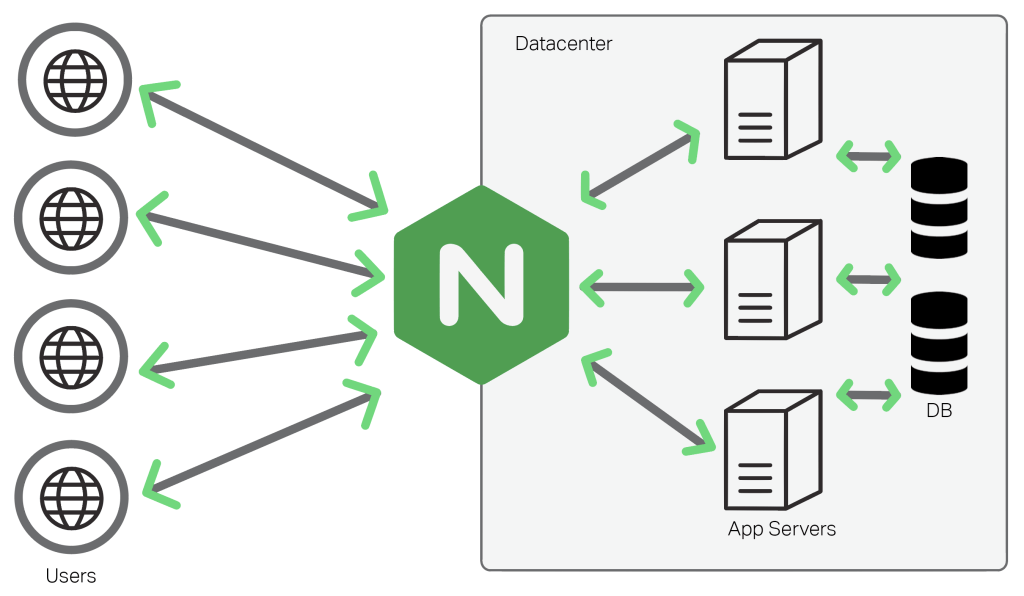
NGINX (pronounced engine x) is a popular lightweight web server application you can install on the Raspberry Pi to allow it to serve web pages.
Like Apache, NGINX can serve HTML files over HTTP, and with additional modules can serve dynamic web pages using scripting languages such as PHP.
INSTALL NGINX
First install the nginx package by typing the following command in to the Terminal:
sudo apt get install nginxand start the server with:
sudo /etc/init.d/nginx startTEST THE WEB SERVER
By default, NGINX puts a test HTML file in the web folder. This default web page is served when you browse to http://localhost/ on the Pi itself, or http://192.168.1.10 (whatever the Pi’s IP address is) from another computer on the network. To find the Pi’s IP address, type hostname -I at the command line (or read more about finding your IP address).
Browse to the default web page either on the Pi or from another computer on the network and you should see the following:

CHANGING THE DEFAULT WEB PAGE
NGINX defaults its web page location to /usr/share/nginx/www on Raspbian. Navigate to this folder and edit or replace index.html as you like. You can confirm the default page location at /etc/nginx/sites-available on the line which starts with ‘root’, should you need to.
ADDITIONAL – INSTALL PHP
sudo apt install php5-fpmENABLE PHP IN NGINX
cd /etc/nginx
sudo nano sites-enabled/default
find the line
index index.html index.htm;roughly around line 25 (Press CTRL + C in nano to see the current line number)
Add index.php after index to look like this:
index index.php index.html index.htm;Scroll down until you find a section with the following content:
# pass the PHP scripts to FastCGI server listening on 127.0.0.1:9000
#
# location ~ \.php$ {
Edit by removing the # characters on the following lines:
location ~ \.php$ {
    fastcgi_split_path_info ^(.+\.php)(/.+)$;
    fastcgi_pass unix:/var/run/php5-fpm.sock;
    fastcgi_index index.php;
    include fastcgi.conf;
}
It should look like this:
        # pass the PHP scripts to FastCGI server listening on 127.0.0.1:9000
        #
        location ~ \.php$ {
                fastcgi_split_path_info ^(.+\.php)(/.+)$;
        #       # NOTE: You should have "cgi.fix_pathinfo = 0;" in php.ini
        #
        #       # With php5-cgi alone:
        #       fastcgi_pass 127.0.0.1:9000;
                # With php5-fpm:
                fastcgi_pass unix:/var/run/php5-fpm.sock;
                fastcgi_index index.php;
                include fastcgi.conf;
        }
Reload the configuration file
sudo /etc/init.d/nginx reloadTEST PHP
Rename index.html to index.php:
cd /var/www/html
sudo mv index.html index.php
Open index.php for with a text editor:
sudo nano index.phpAdd some dynamic PHP content by replacing the current content:
Save and refresh your browser. You should see a page with the PHP version, logo and current configuration settings.
Enjoy! 🙂

[…] PreviousNext […]