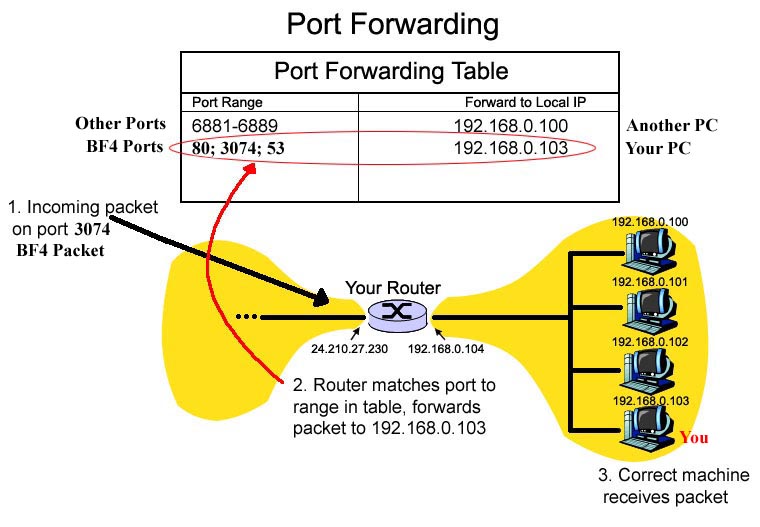
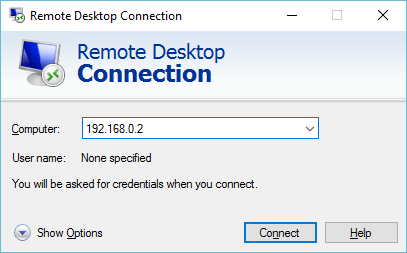
In my previous post I was talking about the how to configure your Pi to be able connect to it with Remote Desktop Connection and how to configure your router for Port Forwarding.
The last step is to configure the Dynamic DNS. This will allow you to remote connect to your Raspberry Pi from everywhere, any time, without worrying about your external IP address changing over time.
A Domain Name Server (DNS) is just a machine which will translate a name like www.google.com to an IP address like 64.233.184.105. Easier to remember www.google.com …
So a Dynamic DNS is just a way to update an IP address (your external IP) to a DNS server. That’s the magic trick.

Now you can go on NoIp website and create an account. They provide free Dynamic DNS services. Once you have your account and logged in on they web site, click on Add Host and create your host name (test.ddns.net for example). The Host Type should be DNS Host A, and that’s all, click on Add Host.
We created our new Dynamic DNS account. But we need to update our external IP every time it change. To do that we need to install a new service called DUC (Dynamic Update Client) on the Raspberry Pi to do it for us.
sudo mkdir /home/pi/noip
cd /home/pi/noip
sudo wget http://www.no-ip.com/client/linux/noip-duc-linux.tar.gz
sudo tar vzxf noip-duc-linux.tar.gz
ls
cd noip-2.1.9-1 (adapt the version if needed)
sudo make
sudo make install
During the installation process you will need to enter your email address and password you created at noip.com.
To start the DUC:
sudo /usr/local/bin/noip2
The service is started and push the IP to NoIp. But if the Pi is restarted the service will not start automatically, unless you configure it like this:
sudo nano /etc/init.d/noipscript
#! /bin/sh
### BEGIN INIT INFO
# Provides: noip2
# Required-Start: $syslog
# Required-Stop: $syslog
# Default-Start: 2 3 4 5
# Default-Stop: 0 1 6
# Short-Description: noip.com client service
### END INIT INFO
# . /lib/lsb/init-functions
case “$1” in
start)
echo “Starting noip2.”
/usr/local/bin/noip2
;;
stop)
echo “Shutting down noip2.”
killall noip2
#killproc /usr/local/bin/noip2
;;
*)
echo “Usage: $0 {start|stop}”
exit 1
esac
exit 0
CTRL + X to quit and save.
Now we can make the script as executable and add it to rc.d :
sudo chmod +x /etc/init.d/noipscript
sudo update-rc.d noipscript defaults


No Comments Yet